How to Install UniFi OS Server on Windows (2026)
IMPORTANT!!!! UniFi OS Server cannot currently run as a Windows Service. In our physical Windows 11 test, enabling Start with System did not make the console available until the owning user signed in. This limitation does not apply to the legacy UniFi Network Server, for which Ubiquiti maintains a separate Windows Service procedure. A Windows UniFi OS Server installation can be useful for a lab, evaluation, or low-criticality environment, but it is not equivalent to an unattended Linux server or managed hosting platform.
Is Windows 11 the Right Host?
Reasonable Windows Use Cases
Windows 11 can be practical when the alternative is not having a controller running 24/7:
- A home lab or evaluation deployment.
- A small office with an existing computer that stays powered on.
- A temporary controller used during deployment or migration.
- A budget-constrained environment using a dedicated desktop or repurposed laptop.
When Not to Use Windows
Choose Linux, UniFi hardware, or a hosted UniFi OS Server when you need:
- Unattended startup before any user signs in.
- Predictable recovery after Windows Update or a power outage.
- Formal uptime, monitoring, and support requirements.
- Critical multi-site or MSP hosting.
UniFi devices continue operating with their last configuration if the controller goes offline, but management, configuration changes, monitoring, and control-plane-dependent features become unavailable.
How UniFi OS Server Runs on Windows
The Windows installer creates a layered environment:
- Windows runs the UniFi OS Server launcher and integration components.
- WSL 2 provides a lightweight Linux utility VM.
- UniFi OS Server runs its Linux services and containerized environment inside WSL 2.
- The Windows integration layer publishes the required UniFi ports on the Windows host.
Because WSL 2 uses hardware virtualization, the processor must support Second Level Address Translation, and Intel VT-x or AMD-V must be enabled in UEFI or BIOS.
Requirements
Ubiquiti Minimums
| Resource | Published minimum |
|---|---|
| Operating system | Windows 10 or later |
| Processor | x86-64 |
| Memory | 2 GB RAM |
| Storage | 10 GB free |
| Network | 100 Mbps wired Ethernet |
For a practical Windows 11 installation, start with at least 4 CPU cores, 8 GB RAM, and 40 GB of free storage. These are operational recommendations, not Ubiquiti sizing guarantees. Increase resources according to the number of sites, devices, clients, and other workloads on the computer.
Additional Requirements
- Administrator access.
- Hardware virtualization enabled in UEFI or BIOS.
- A stable IP address or DHCP reservation.
- A stable DNS name if devices will use Layer 3 adoption.
- Internet access for the installer, WSL components, and UniFi updates.
Do not use this procedure inside a Hyper-V Windows guest. Ubiquiti explicitly states that UniFi OS Server installation in a Hyper-V guest is unsupported.
Install UniFi OS Server
Download the Current Installer
Open the official UniFi OS Server download page and select the latest official Windows (x64) release.
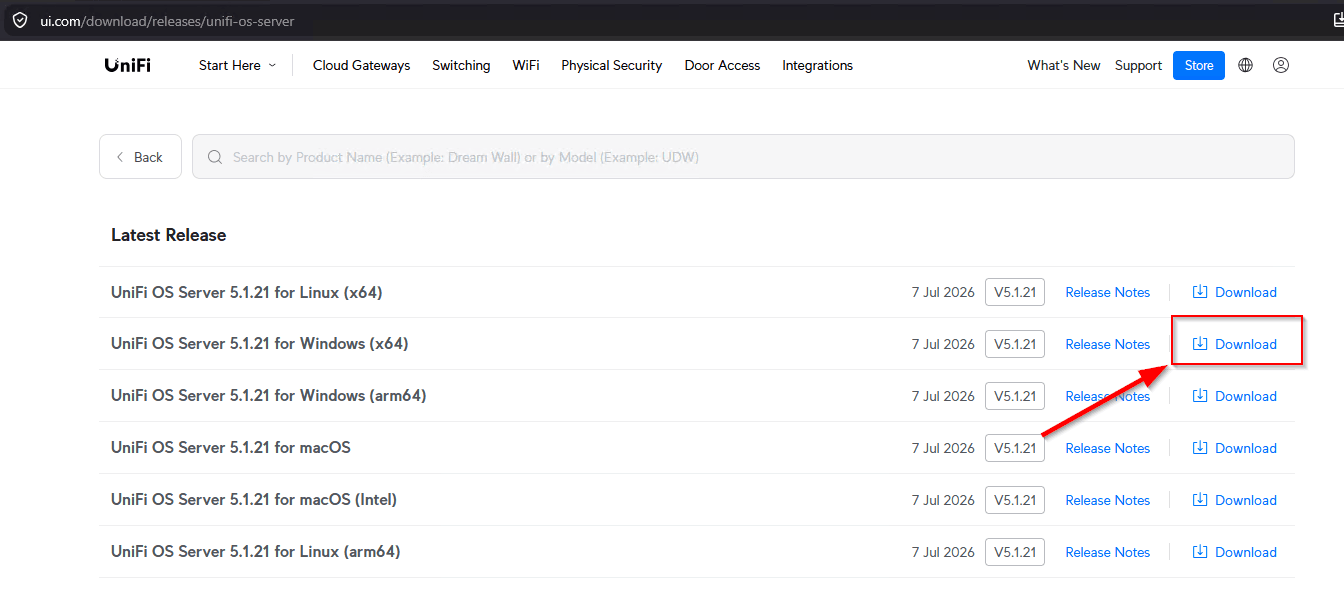
Run the Installer
- Right-click the installer and select Run as administrator.
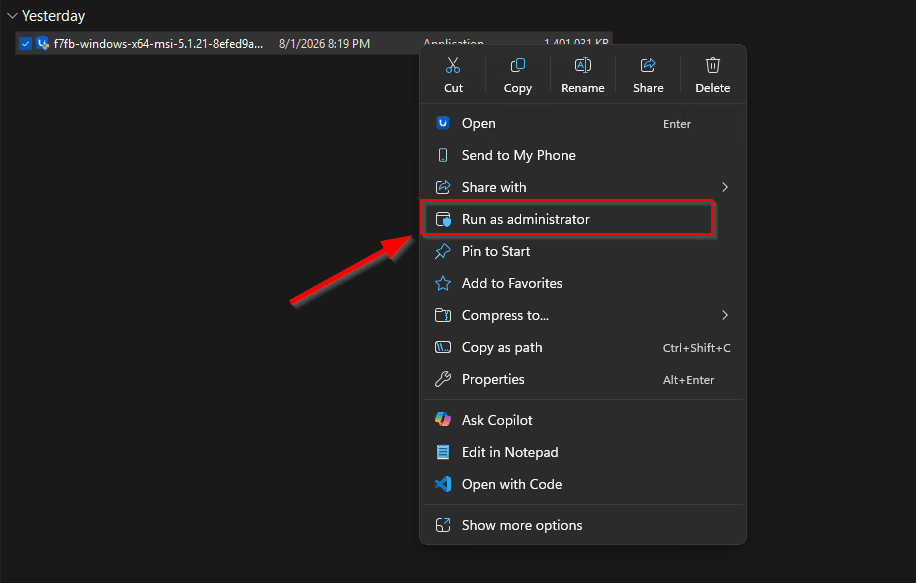
- Approve the User Account Control prompt.
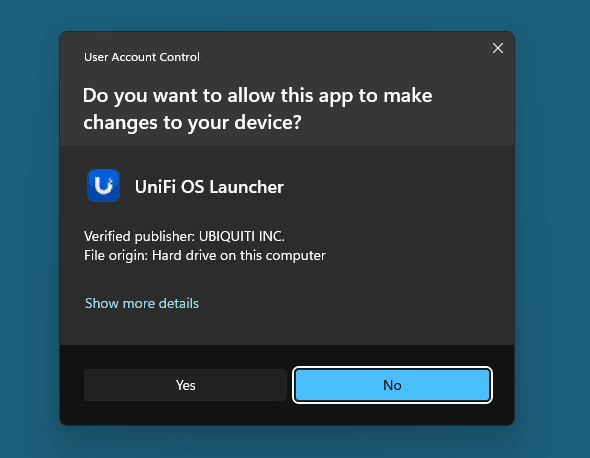
- Follow the UniFi OS Server setup wizard.
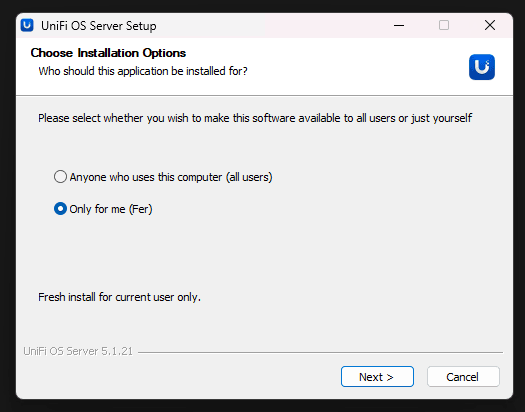
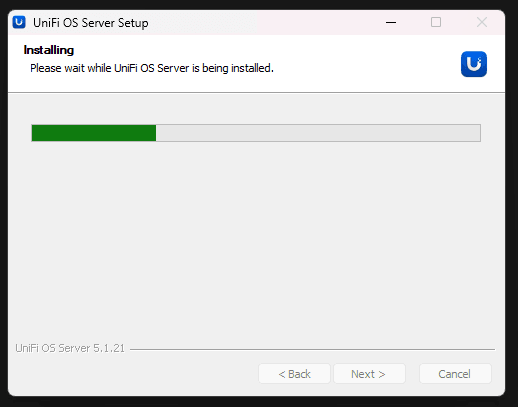
- Allow setup to install or configure WSL 2.
- Restart Windows if requested.
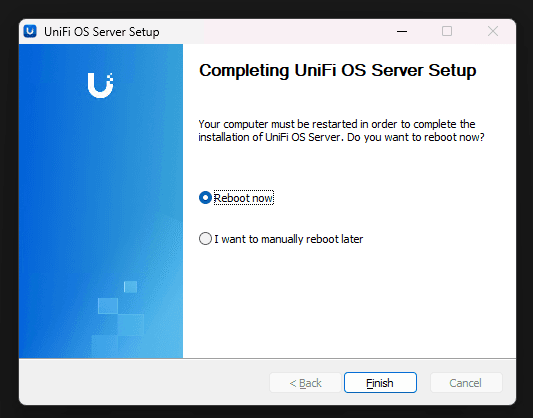
- Sign back in to the same Windows account.
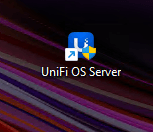
- Launch UniFi OS Server from the Start menu or Desktop
The first launch can take several minutes while WSL starts and the UniFi environment initializes.

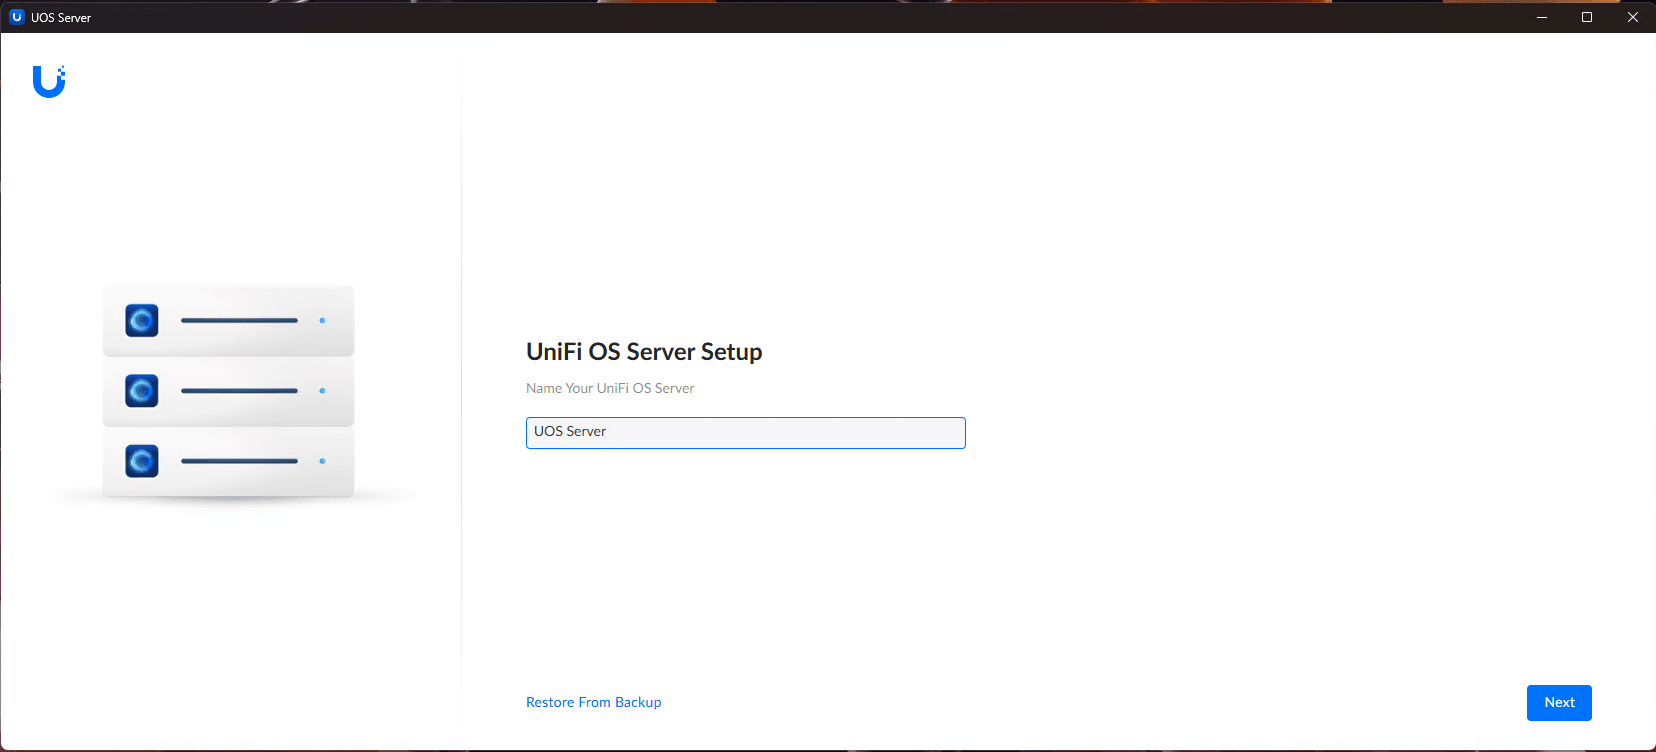
Complete Initial Setup
-
Assign a clear console name.
-
Login with your unifi.ui.com credentials or use the local account option
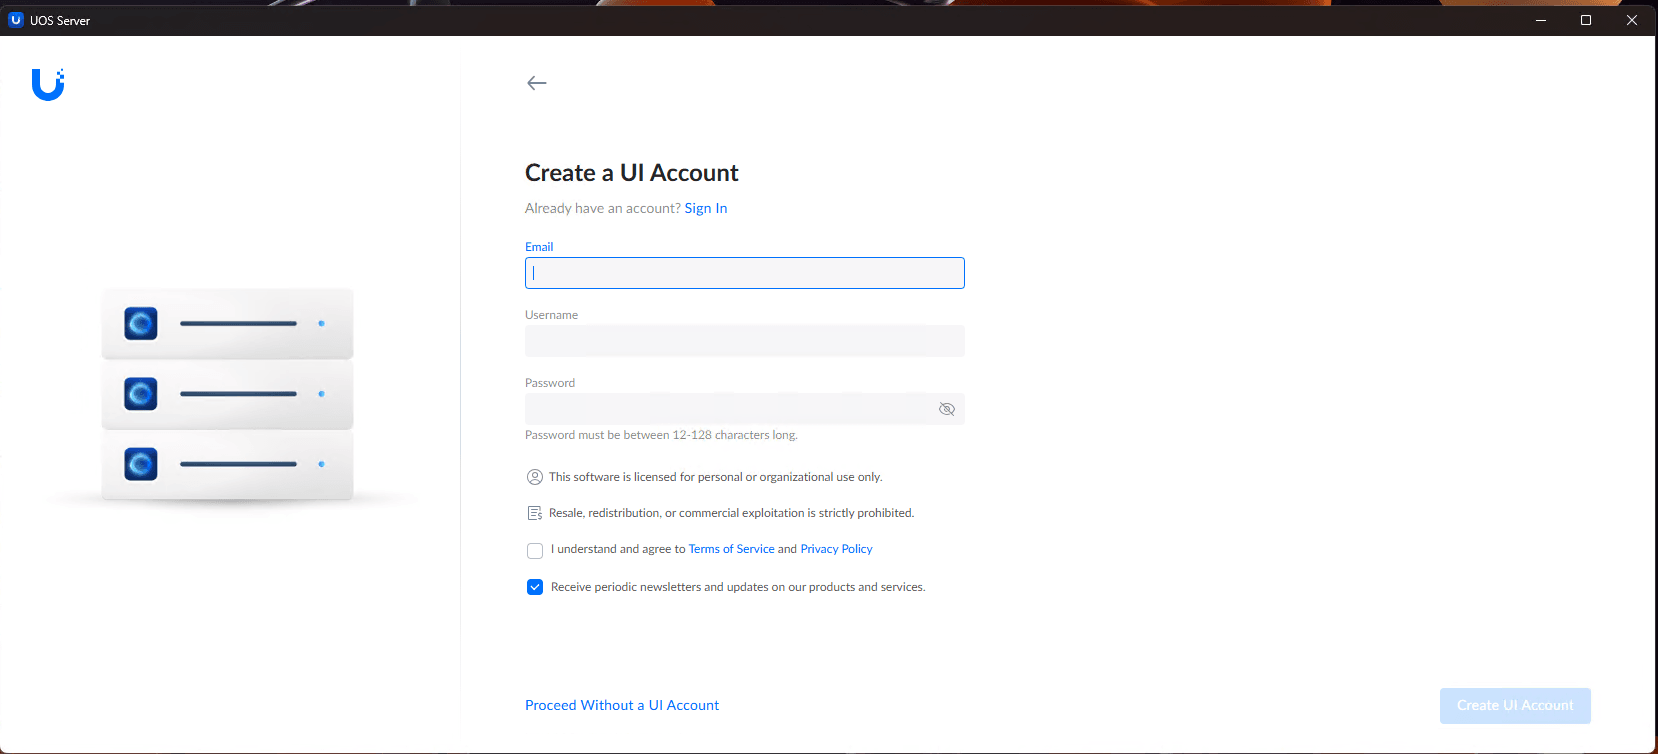
-
If you login with your unifi.ui.com account and you have site backups enabled for other sites, you might be prompted to restore from backup. If it's a new deployment, choose "continue without backup"
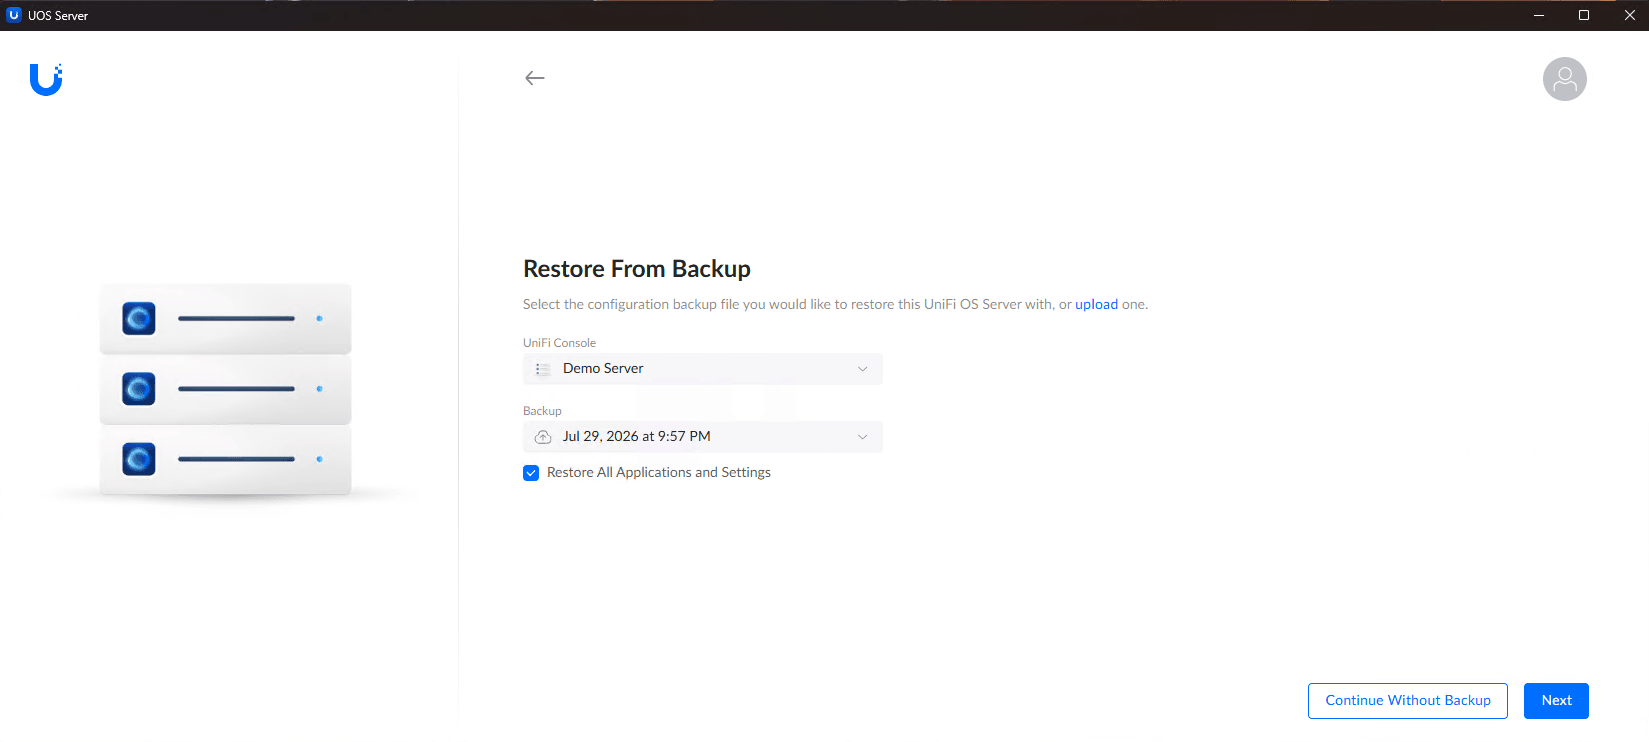
-
The UniFiOS server will begin with the setup and once it's done you will see this message
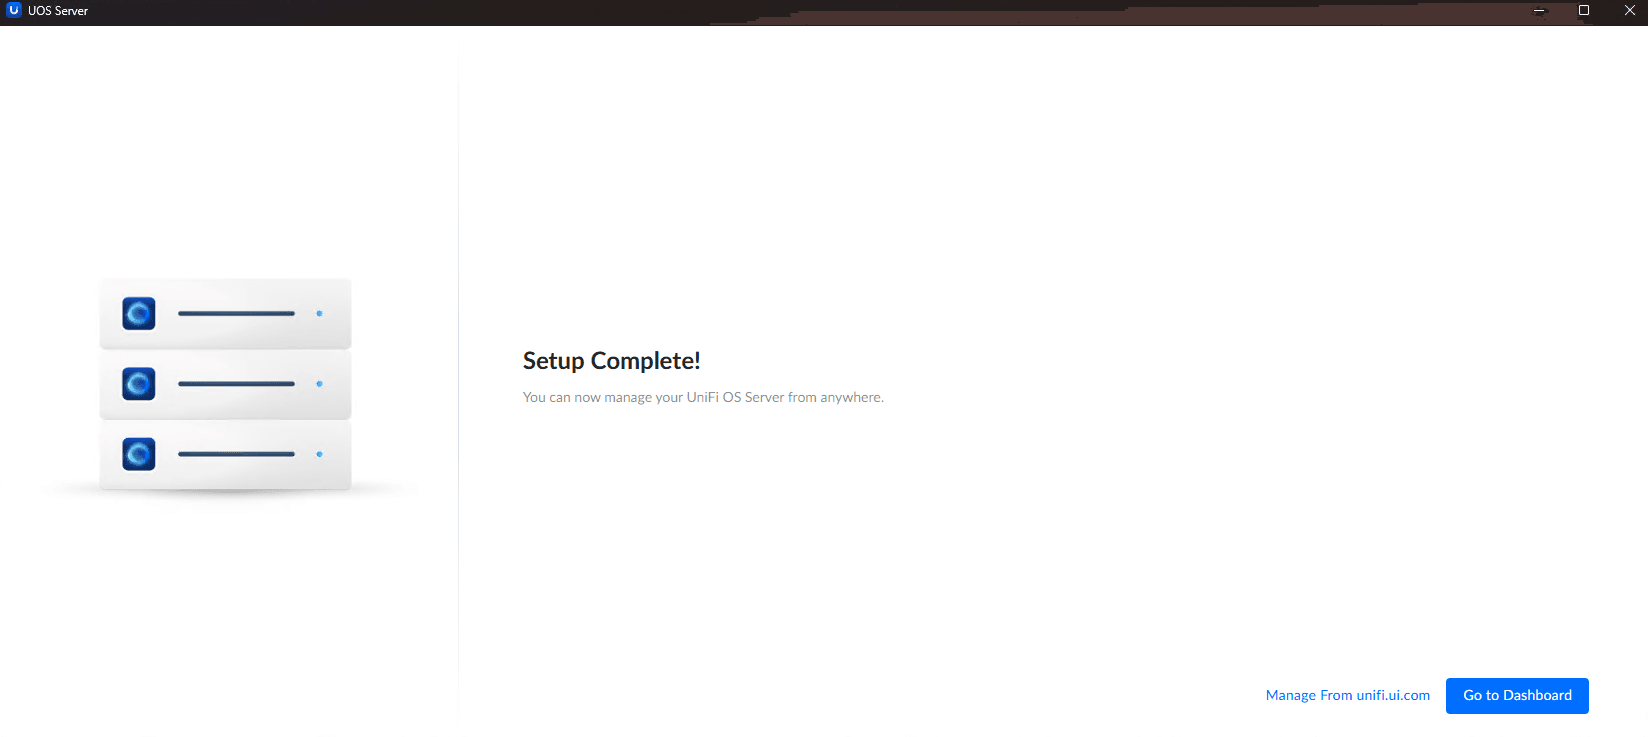
-
Click on "Go to Dashboard" and the main server dashboard will appear, from here you can start with the device adoption!
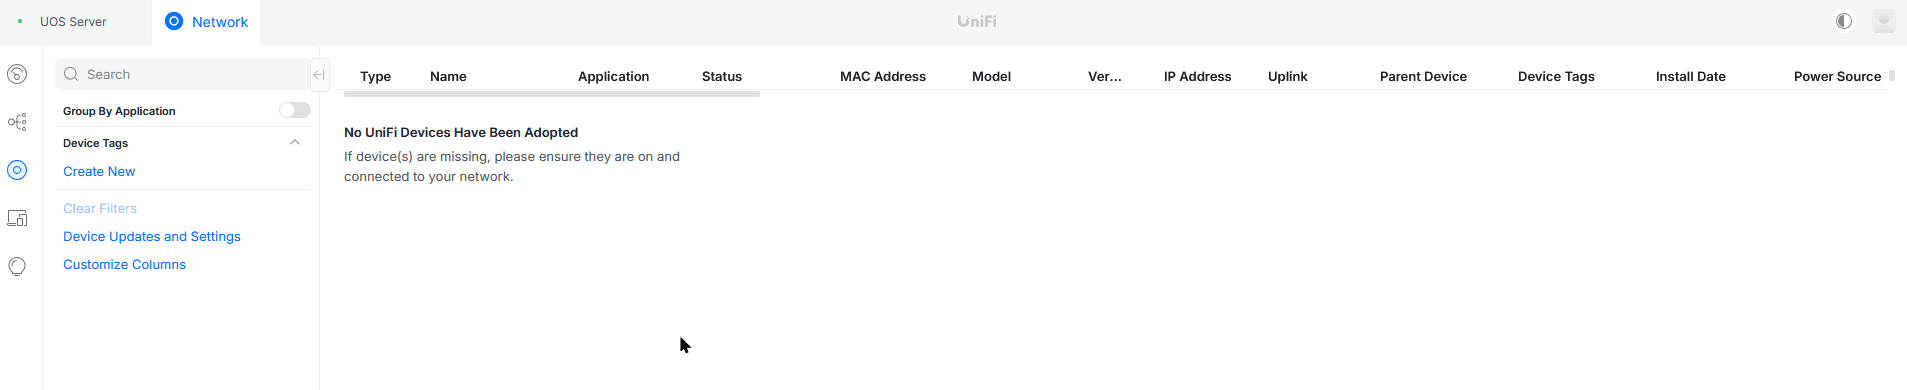
Start with system option
You can configure the UniFiOS server to start at the user login, this is located in the UniFiOS tray Icon :
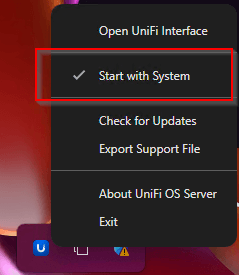
Important:
This does not mean that the UniFiOS server will start at the computer startup completely, the user that deployed the server must be logged in too! So basically, it's not configured as a service.
Can I access the server from another device?
Yes, from another trusted computer, use the Windows host's IP address or DNS name:
https://<windows-pc-ip-or-fqdn>:11443
The first connection may show a warning because UniFi initially uses a self-signed certificate.
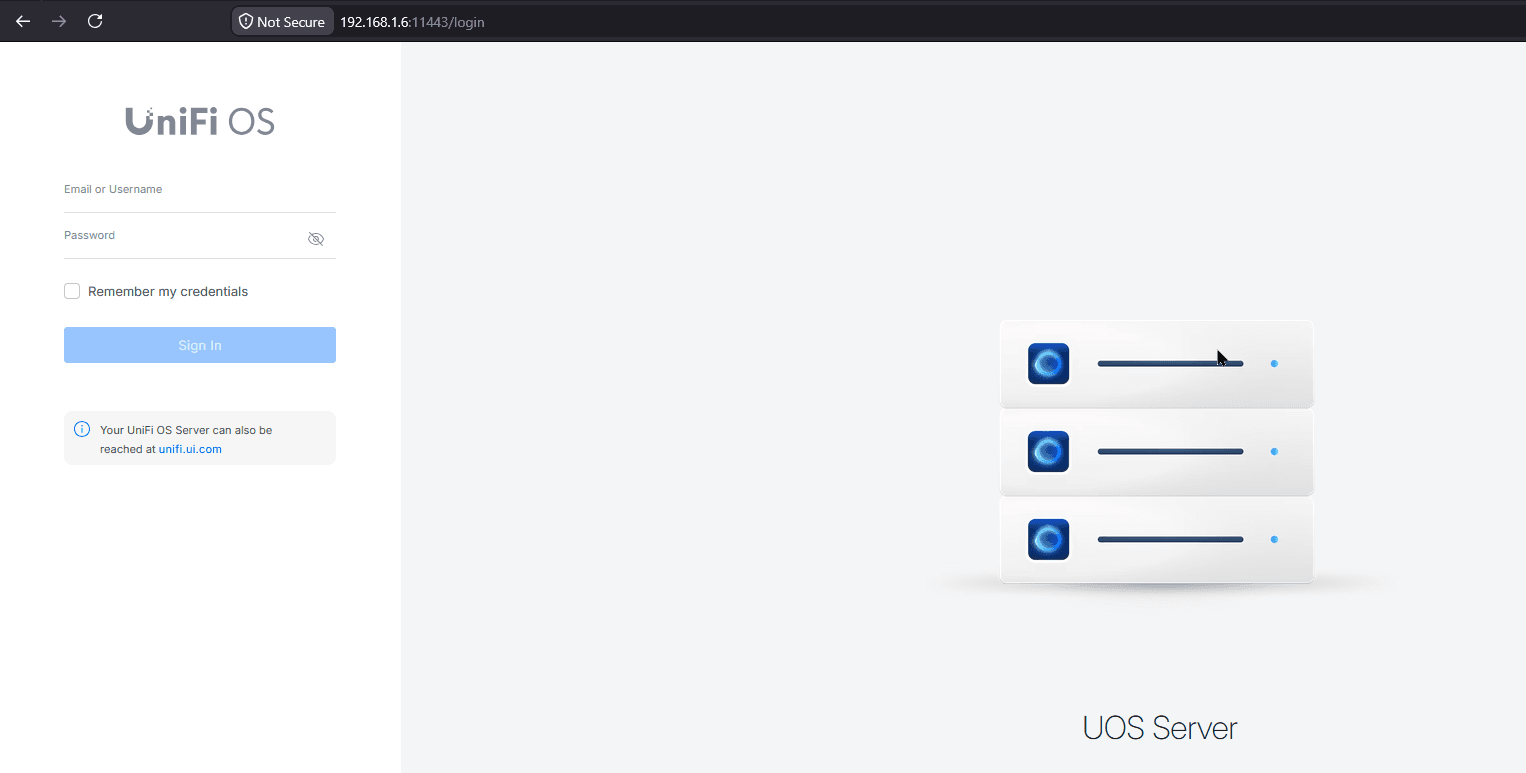
This will only work while the UniFiOS server is running and the Windows user is logged in too.
Also, the network profile on the Windows 11 device must be set to Private.
When Linux or Managed Hosting Makes More Sense
Windows is easy to install but leaves the administrator responsible for an application that is not delivered as a Windows Service, plus Windows updates, WSL servicing, firewall policy, certificates, backups, and recovery testing.
A Linux deployment provides native service management and is generally better suited to an always-on self-hosted controller. Managed hosting removes the host, update, backup, monitoring, and recovery workload entirely.
If the goal is to manage UniFi rather than maintain the controller infrastructure, UniHosted provides managed UniFi OS Server hosting with backups, monitoring, remote access, and operational tooling included.