Install UniFi Network Application on Windows
UniFi network devices are not like common access points or routers used by home users. They need to be centrally configured and managed with a 'Controller', which in the UniFi ecosystem is called the 'Network Application'. You may also see it named as 'Controller'; it was renamed not so long ago when UniFi developed UniFiOS. The Network Application is part of UniFiOS, along with other applications like 'Access' and 'Protect', which are used for UniFi access devices and cameras.
There are several ways to run the Network Application: you can purchase a Cloud Key or use the built-in Network Application on certain UniFi gateways. However, if you don't want to purchase additional hardware and only wish to manage access points, switches and independent gateways, you can install the Network Application on a desktop PC, server or VM. In this guide, I will explain how to install the standalone Network Application on Windows.
Before we get into the requirements, bear in mind that, according to Ubiquiti, the standalone Network Application is considered 'legacy'. They recommend installing the UniFi OS servers. UniFi hasn't set a deprecation date for the standalone network app and, since the release of UniFi OS, they have continued to update the standalone application.
If you want to install the UniFiOS instead, a new blog will be written soon!
Minimum requirements for installing the standalone network app on Windows.
OS: Windows 10; Windows Server 2016 CPU: x86-64 Processor (Intel / AMD x64 Processors) RAM: 2GB Network: 100Mbps Wired Ethernet HDD: Minimum 10GB free (20GB or more preferred) Java is no longer required as of UniFi Network 7.5 Web Browser: Any modern browser will do it! - Chrome,Firefox,Brave,Edge
Network Prerequisites
For the controller to communicate effectively with devices, the following inbound ports must be allowed through the Windows Firewall: TCP Port 8080, TCP Port 8843, UDP Port 10001, and UDP Port 3478
See for more information about each port and additional ports: https://help.ui.com/hc/en-us/articles/ -Required-Ports-Reference
Note: The installer typically adds these rules automatically, but they should be verified in Windows Defender Firewall with Advanced Security if connectivity issues arise.
Let’s get into the installation.
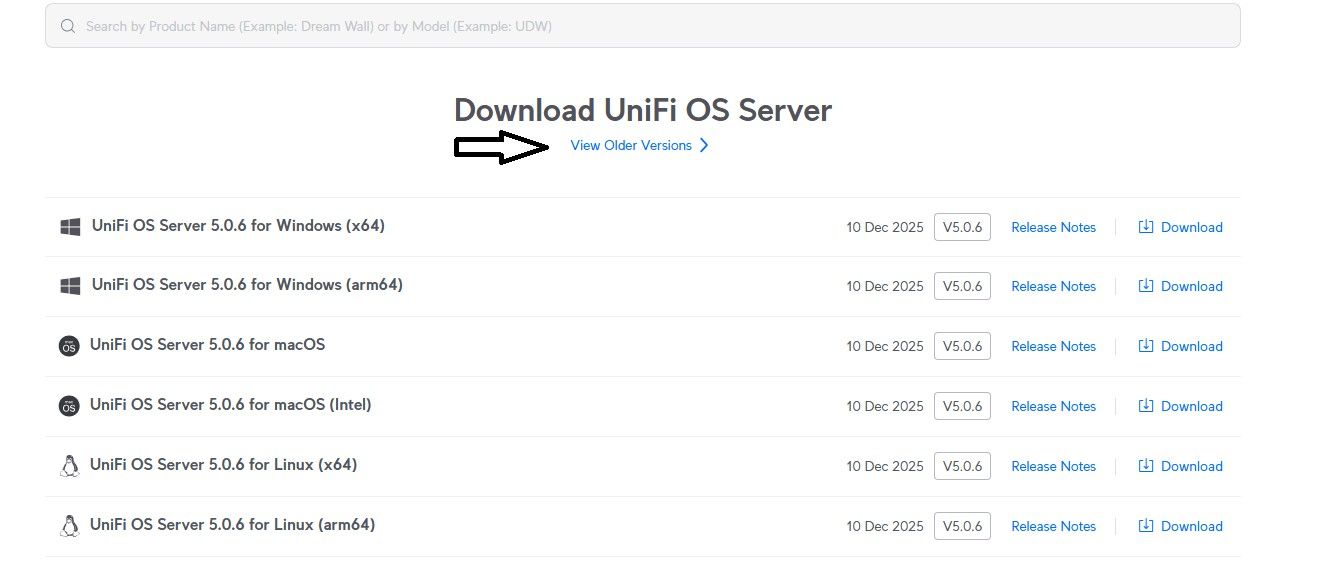
1- Go to the download site for UniFi software/firmware:
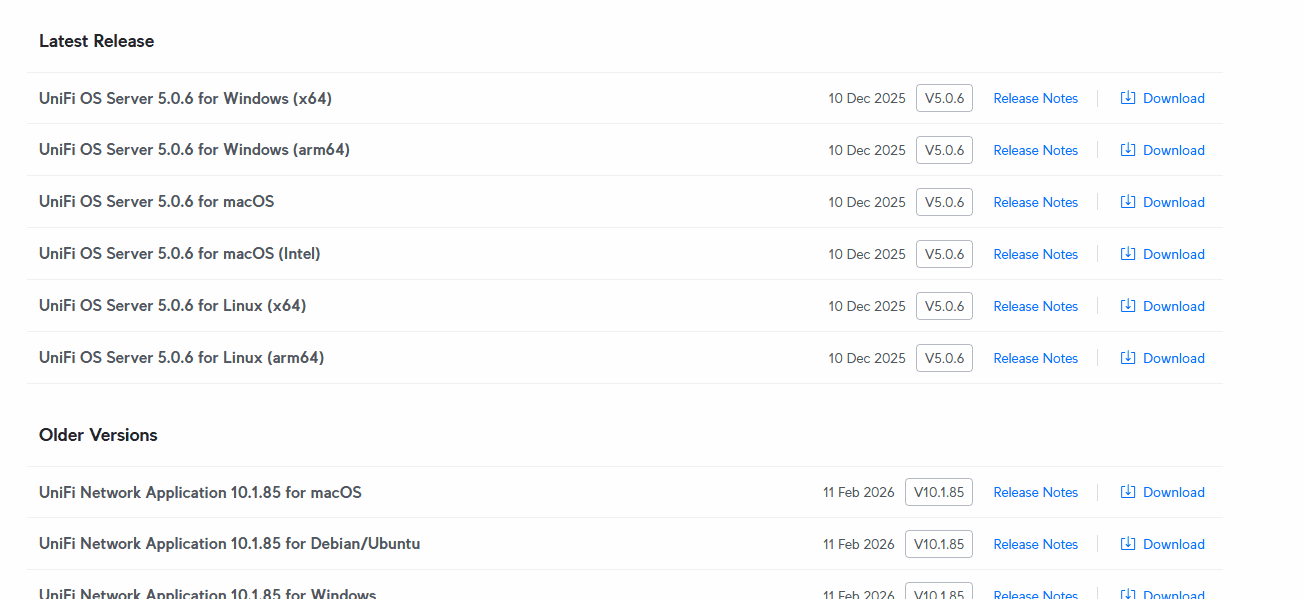
2- The download link for the standalone network app is hidden. You need to go to 'View older versions' to find the network app under 'Older versions'. Find the desired Windows version and then just hit 'Download'. In the example below, I downloaded version 10.0.162. Why am I not using the latest version? The latest version (10.1.85) is not compatible with my UniFi devices straight away. Before downloading the controller, make sure that the version is compatible with your UniFi devices.
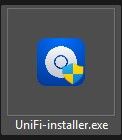
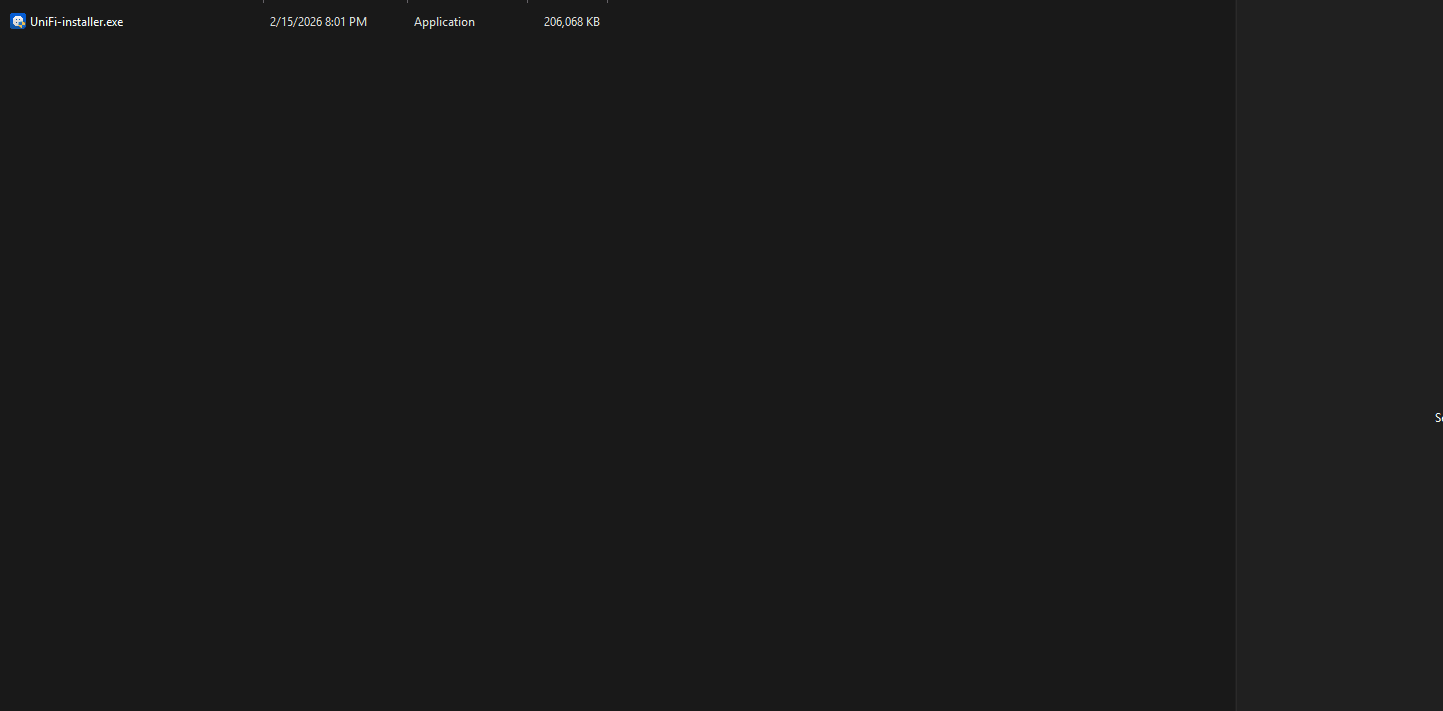
The downloaded file looks like this:
3- Double-click the .exe file. If prompted, select 'Run as administrator'. Then just click 'Install'.
4- Now let’s launch the server:
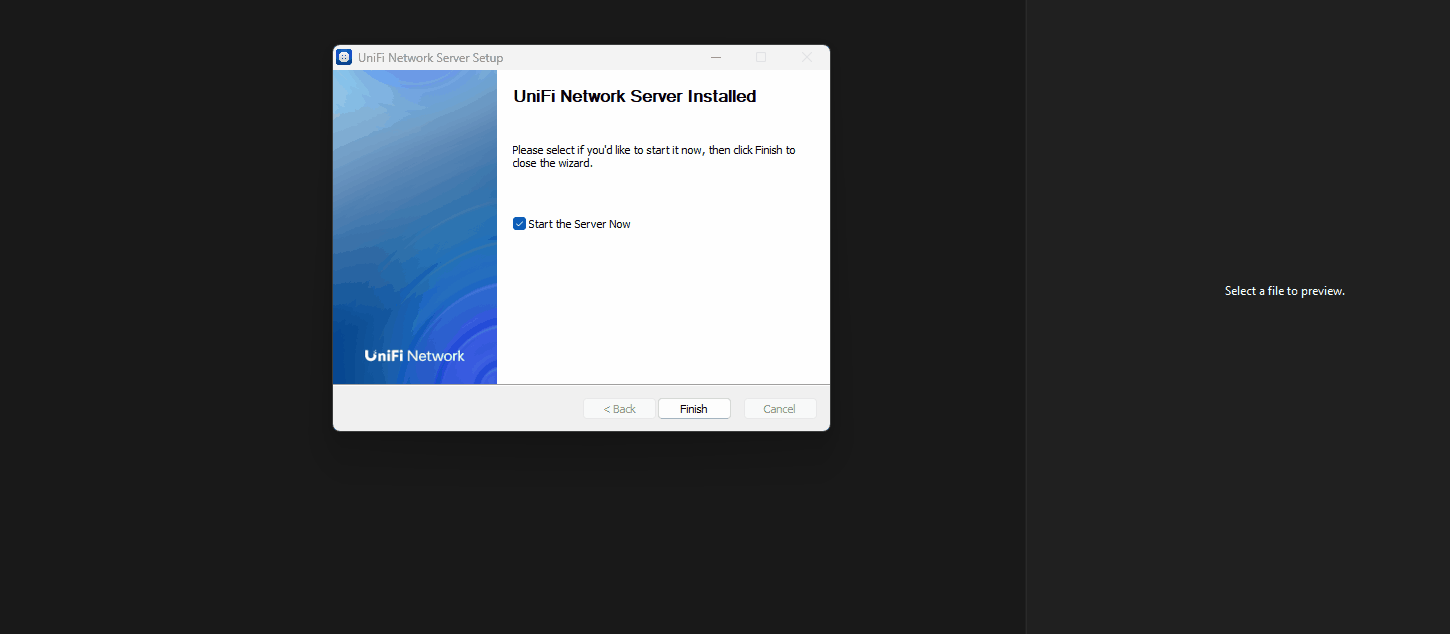
5- Once the server is ready, click on 'Manage server in browser'. This will open your default web browser at the address below. Then, in the small Network Server window, click 'Hide' so that it moves to the taskbar tray. Do not close this or it will stop the service.
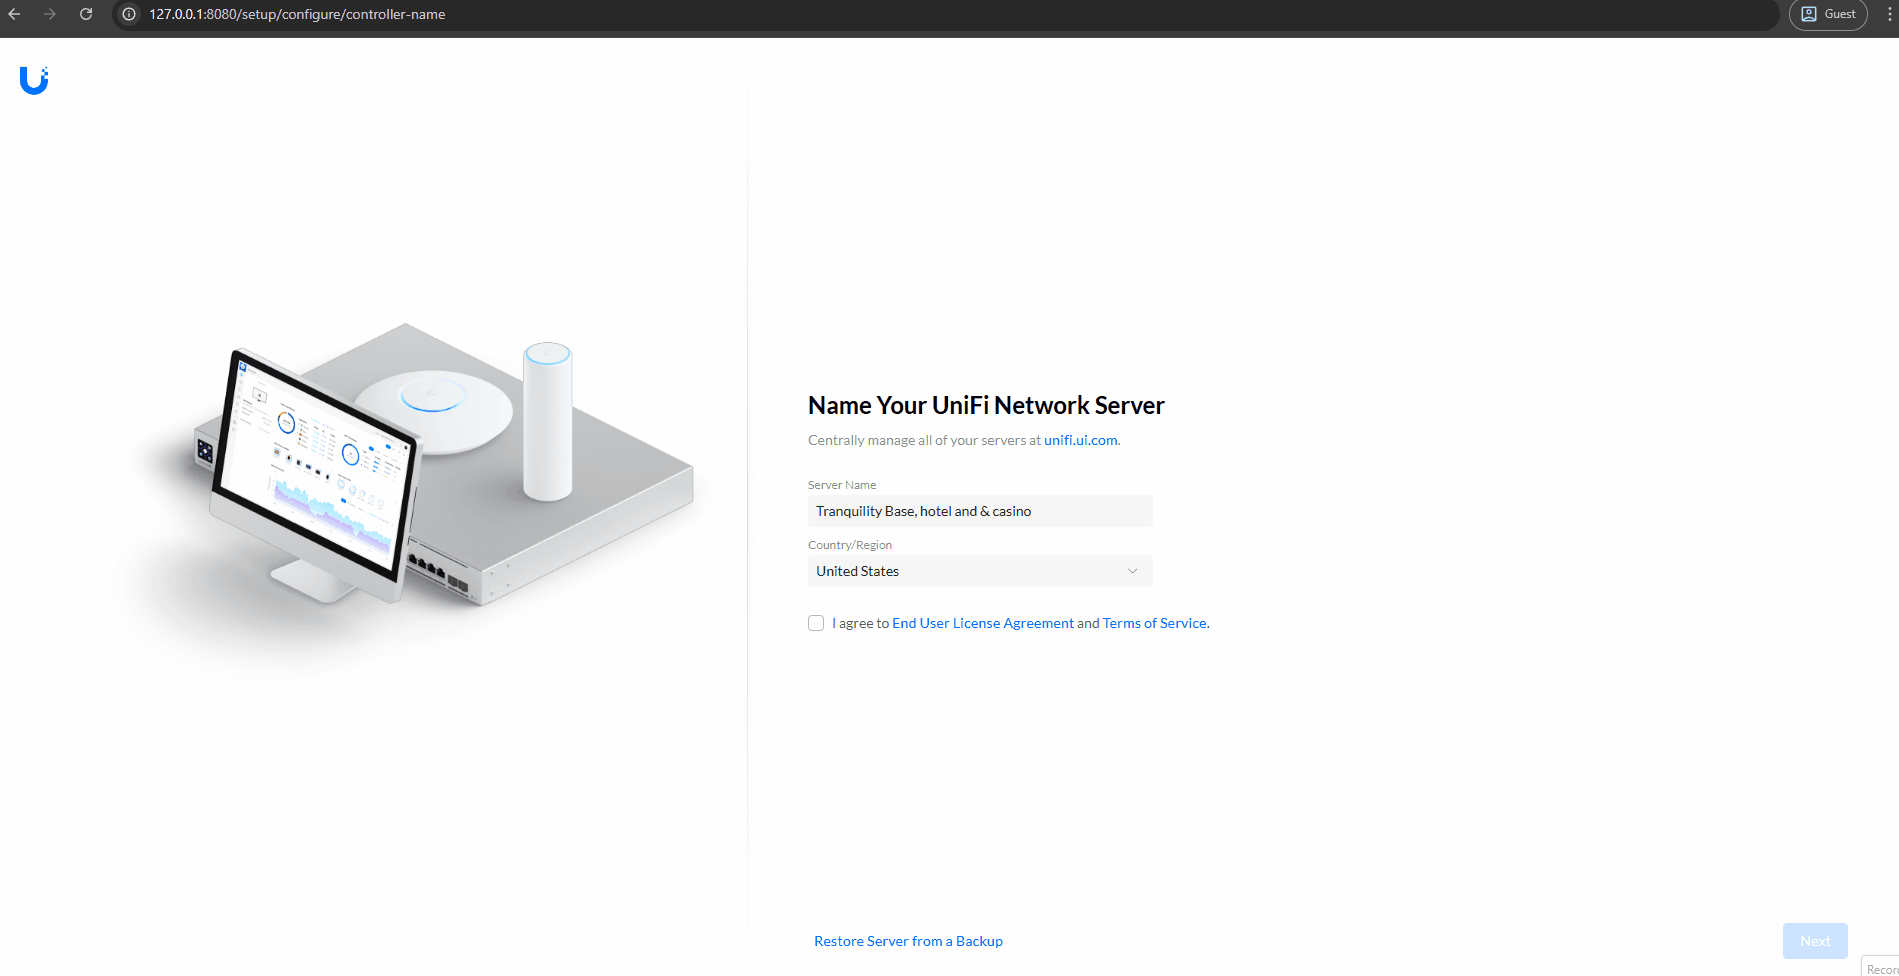
http://127.0.0.1:8080/setup/configure/controller-name
127.0.0.1 is the loopback address. To access this controller from another computer on your network later, provided you set up the firewall rules correctly, you should also be able to log in from another computer. Simply replace the loopback IP address with the network address of the Windows computer in the URL.
If you see the classic 'This site is not secure' message, click 'Advanced' and then 'Open this site anyway'. This is caused by the controller's certificate, which is just a local certificate.
6- For the initial setup, if you want to restore from backup, you will find the option at the bottom. However, most likely this is your first setup, so specify the server name and your location. For me, it will be Tranquility Base Hotel & Casino and my country will be Argentina. Once you have completed this, accept the terms and click Next at the bottom right of the screen.
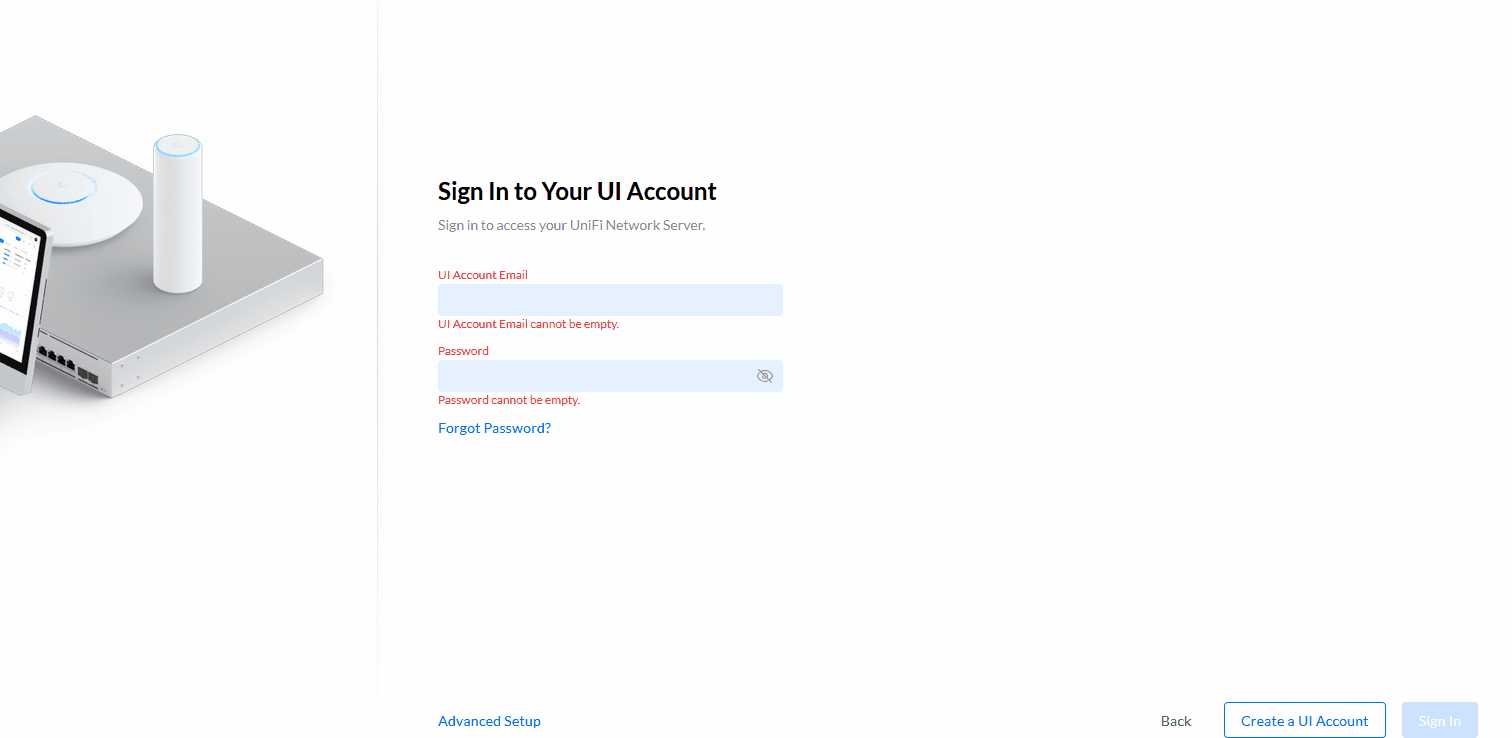
7- Now it’s time to set the login details for our network app. The recommended method is to use a UI account, which will enable you to perform remote management through the Site Manager, among other things.
To do this, you need a UI.com account. If you don't have one, click on the 'Create a UI account' button at the bottom right of the screen. All you need is a working email address.
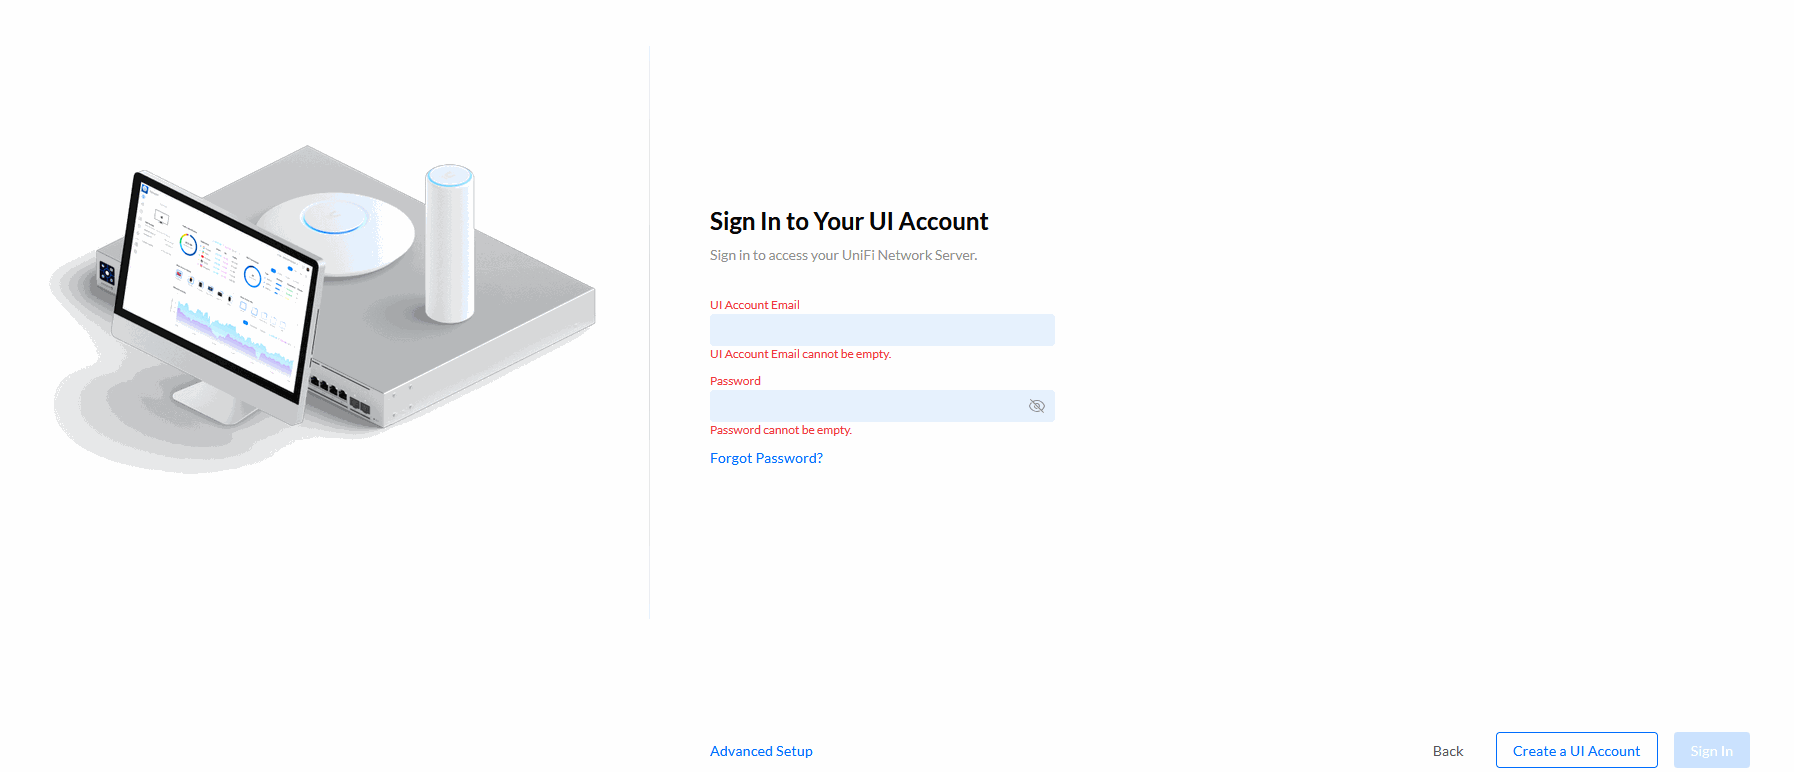
Once you have created your account, enter your credentials. UniFi will then send a two-factor authentication (2FA) code to your email address (or your configured 2FA method; email is the default).
Alternatively, if you just want to use a local user in the network app, you can do so by selecting 'Advanced Setup' > 'Skip'. You will then see the place to configure the local credentials for the admin user. Mine are automatically populated with the credentials I always use for my labs.
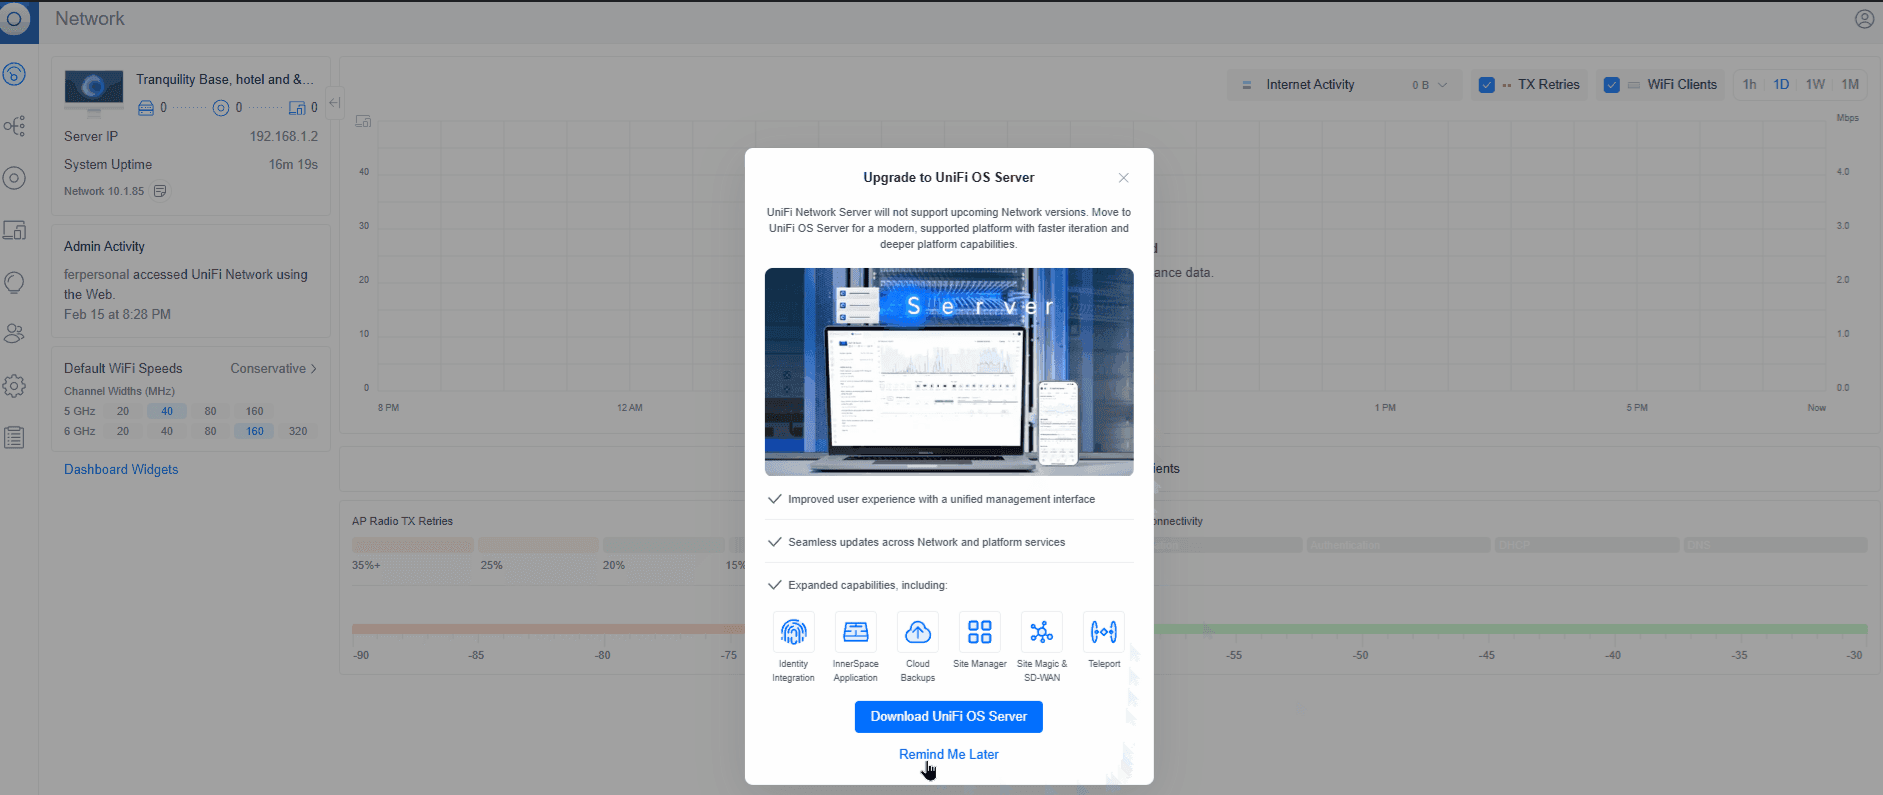
8- After logging in, a page saying 'Setting up server' will appear, followed by the dashboard. Note that you may see a large 'Upgrade to UniFi OS server' message. You can just skip it.
9- Well done, you've made it! Installing the network app is quite easy. To make management easier and avoid eye strain, let's set the theme to dark. Go to Settings > System, click on the dark theme, and apply the changes.
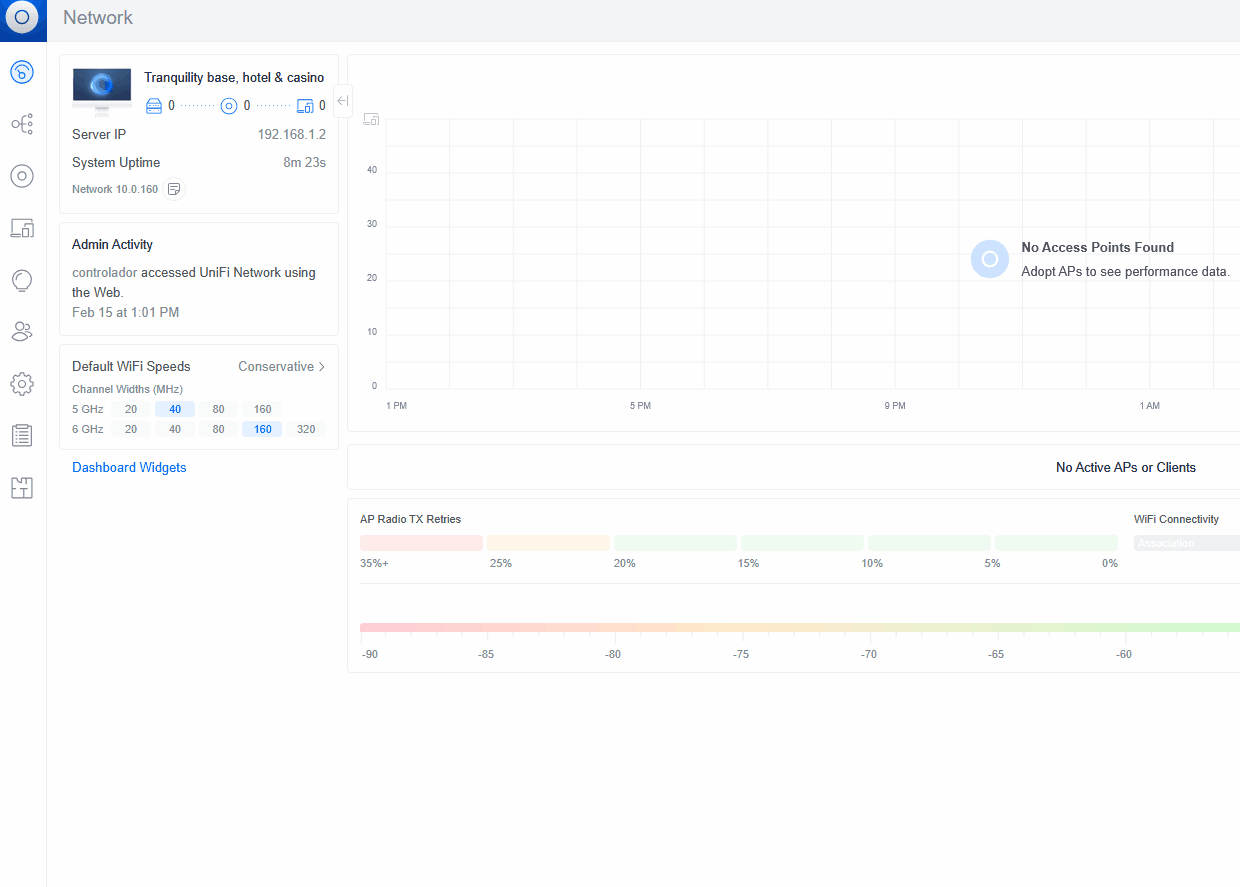
10- That's better, right? Now, let's adopt a few UniFi devices. I have a Ubiquiti switch and an access point in their factory-default state. Both devices are connected to the same network as the PC on which I installed the controller. This means that the UniFi devices and the network application/controller can see each other. Go to the 'UniFi Devices' tab and click to adopt once you see the devices!

11- The adoption process will take a little while. You will see your devices' lights switch from blank to blue. Once they are fully blue, this means they have been adopted by the controller. They should then appear in the green state in the web GUI of the network app. If they need a firmware update, the network app will notify you. Before starting any configuration, ensure the devices have the latest firmware.
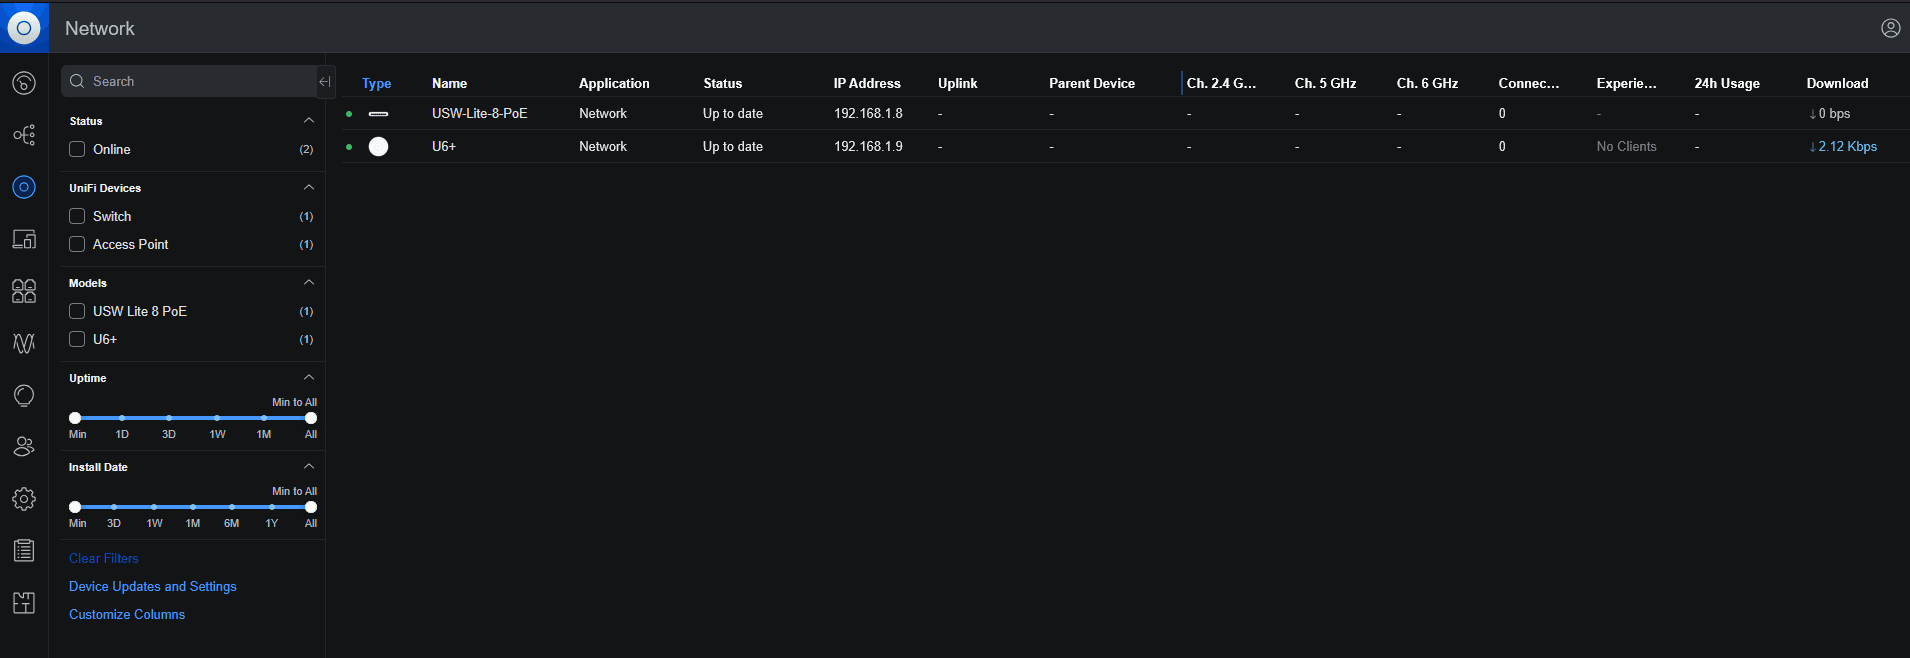
12- That's it, folks! We have successfully installed the network app and adopted two devices, you should be good now to start deploying your Wi-Fi and wired networks!
A few additional notes to add:
If the UniFi devices you want to adopt are on a different network, VLAN or subnet, you will need to perform a Layer 3 adoption. We have a video with step-by-step instructions here:
Also, remember that any device you wish to adopt must be in its factory-default state. Below, you will find another video on how to reset an access point. If you need help with other UniFi devices, the process is similar.
https://www.youtube.com/watch?v=XneypN1n6Rg
Do you need help setting up your first SSID? Check out this:
https://www.youtube.com/watch?v=z1CcxLd94bE
The server app needs to be running all the time? it's not needed, however, the best is to have it running all the time so it can capture metrics correctly, you can run the Network App as a service, to do set this up, please check: https://help.ui.com/hc/en-us/articles/205144550-Self-Hosting-a-UniFi-Network-Server-as-a-Windows-Service-Advanced
For more how-to videos, check out our channel, which features multiple setups and configurations!
https://www.youtube.com/@unihosted/videos
That should be it, now you have a self-hosted Network Application running, bear in mind this will need maintenance, such as updates, if you don't want to deal with the controller maintenance, then you can take a look at the Managed UniFi network controller.
When does Managed UniFi hosting make more sense?
Managing UniFi at scale introduces operational risk: inconsistent versions, manual backups, expiring certificates, and hardware failures. Many MSPs move to hosted UniFi controllers to centralize infrastructure while retaining full network control.