How to install UniFi OS Server on macOS
With the release of UniFi OS Server, Ubiquiti now supports running the full UniFi stack on your own hardware (including macOS). This lets you manage sites, deploy VPN, use UniFi Identity, and more, without a Cloud Key or Dream Machine.
This guide walks you through installing UniFi OS Server on macOS. Let's dive in!
UniHosted is first managed hosting solution for UniFi OS. Get early access to the first managed UniFi OS hosting. Secure, reliable, and built for MSPs. Spots are limited - Schedule now
What you get with UniFi OS Server
UniFi OS Server is the same platform that powers Ubiquiti's hardware consoles, now available as a self-hosted containerized app. On macOS, it supports:
- UniFi Network: switch, AP, and gateway management
- InnerSpace: RF analytics and floorplans
- SiteMagic VPN: multi-site SD-WAN
- UniFi Identity: SSO, RBAC, and access control
- Remote access via Site Manager (if UI account is linked)
Currently, UniFi Protect, Talk, and Access are not yet supported.
Step 1 – Download the installer
Use Ubiquiti’s official links:
Check your architecture via the Apple menu > About This Mac.

Step 2 – Install UniFi OS Server
- Open the
.dmgfile - Drag the UniFi OS Server app to the Applications folder
- Launch the app
The first startup may take several minutes. The application is initializing the full UniFi container stack in the background.
Step 3 – Access the control interface
Once running, visit: https://localhost:11443
You may need to proceed past a browser security warning due to the self-signed certificate.
From here:
- Assign a name to your UniFi OS Server
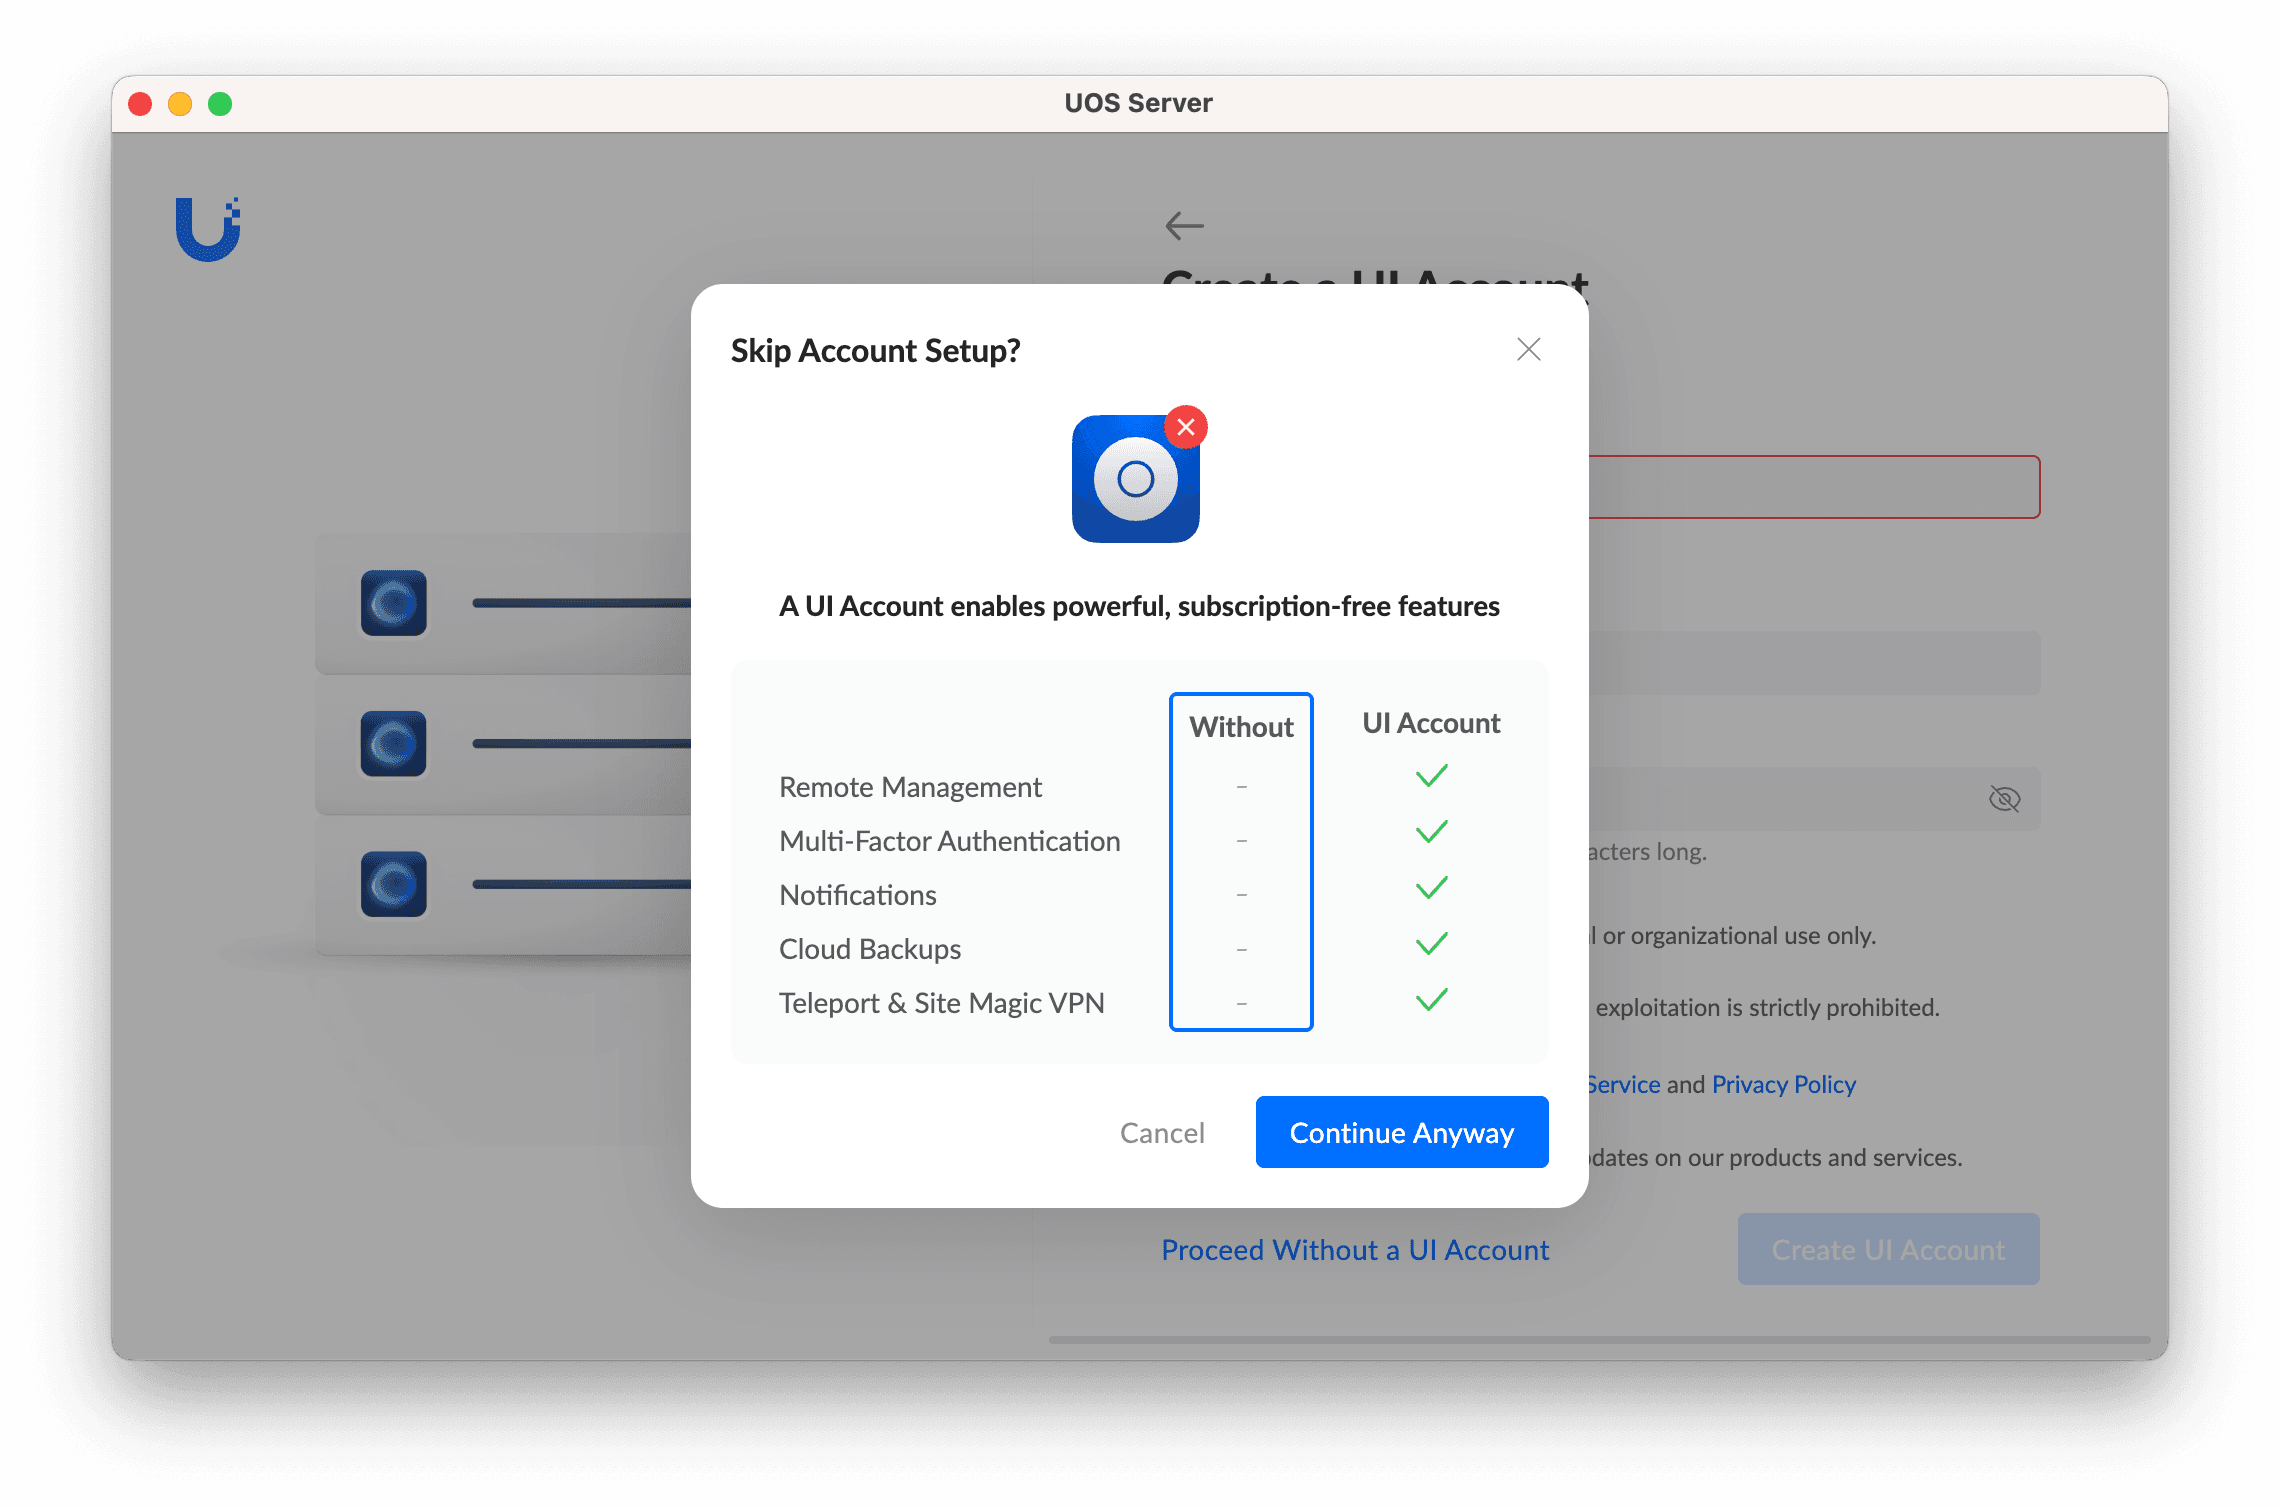
- Optionally sign in with your UI.com account
- Restore from a
.unfor.uossbackup if migrating - Install optional apps like SiteMagic, Identity, or InnerSpace under Control Plane settings
Note: If you skip UI login, cloud features such as Site Manager, Teleport, and remote backups will not be available.
Step 4 – Managing the server
- The UniFi OS service continues to run in the background after launch
- Closing the window does not stop the server
- To fully stop the process, use the menu bar icon and choose Exit
- Relaunch the app to start the server again
Step 5 – Optional production configuration
If you plan to run this beyond testing, consider hardening and automating your environment. Key items to address:
- Install an SSL certificate (e.g. via Let’s Encrypt)
- Set up scheduled backups
- Monitor memory, CPU, and container status
- Configure alerts and uptime checks
- Control access via local firewall rules
These tasks are not built into the macOS package and must be managed externally.
Things to take into account
- Some versions briefly show UniFi Network as offline during startup
- SSL is self-signed by default
- No support for UniFi Protect, Talk, or Access
- No automated update mechanism
- No Docker support
- Still in Early Access
Final Thoughts
macOS is now a valid platform for running UniFi OS Server, allowing full control of the UniFi ecosystem from a personal machine. For lab use or small deployments, setup is fast and straightforward. For production use, especially across multiple sites, but you will need to manage infrastructure and security manually.
If you want to run the full UniFi OS stack, but without maintaining containers, updates, backups, or security, we’ve got you covered.
UniHosted is the first managed hosting provider for UniFi OS Server, purpose-built for MSPs. It is live across 30+ global regions, with SiteMagic VPN, UniFi Identity, backups, and centralized control. All preconfigured and production-ready.