How to use Port Isolation for UniFi: A step by step guide
Port isolation improves privacy on a shared UniFi switch by preventing devices on isolated ports from communicating directly with one another. It is useful for guest Wi-Fi, hotels, offices, and other multi-user networks.
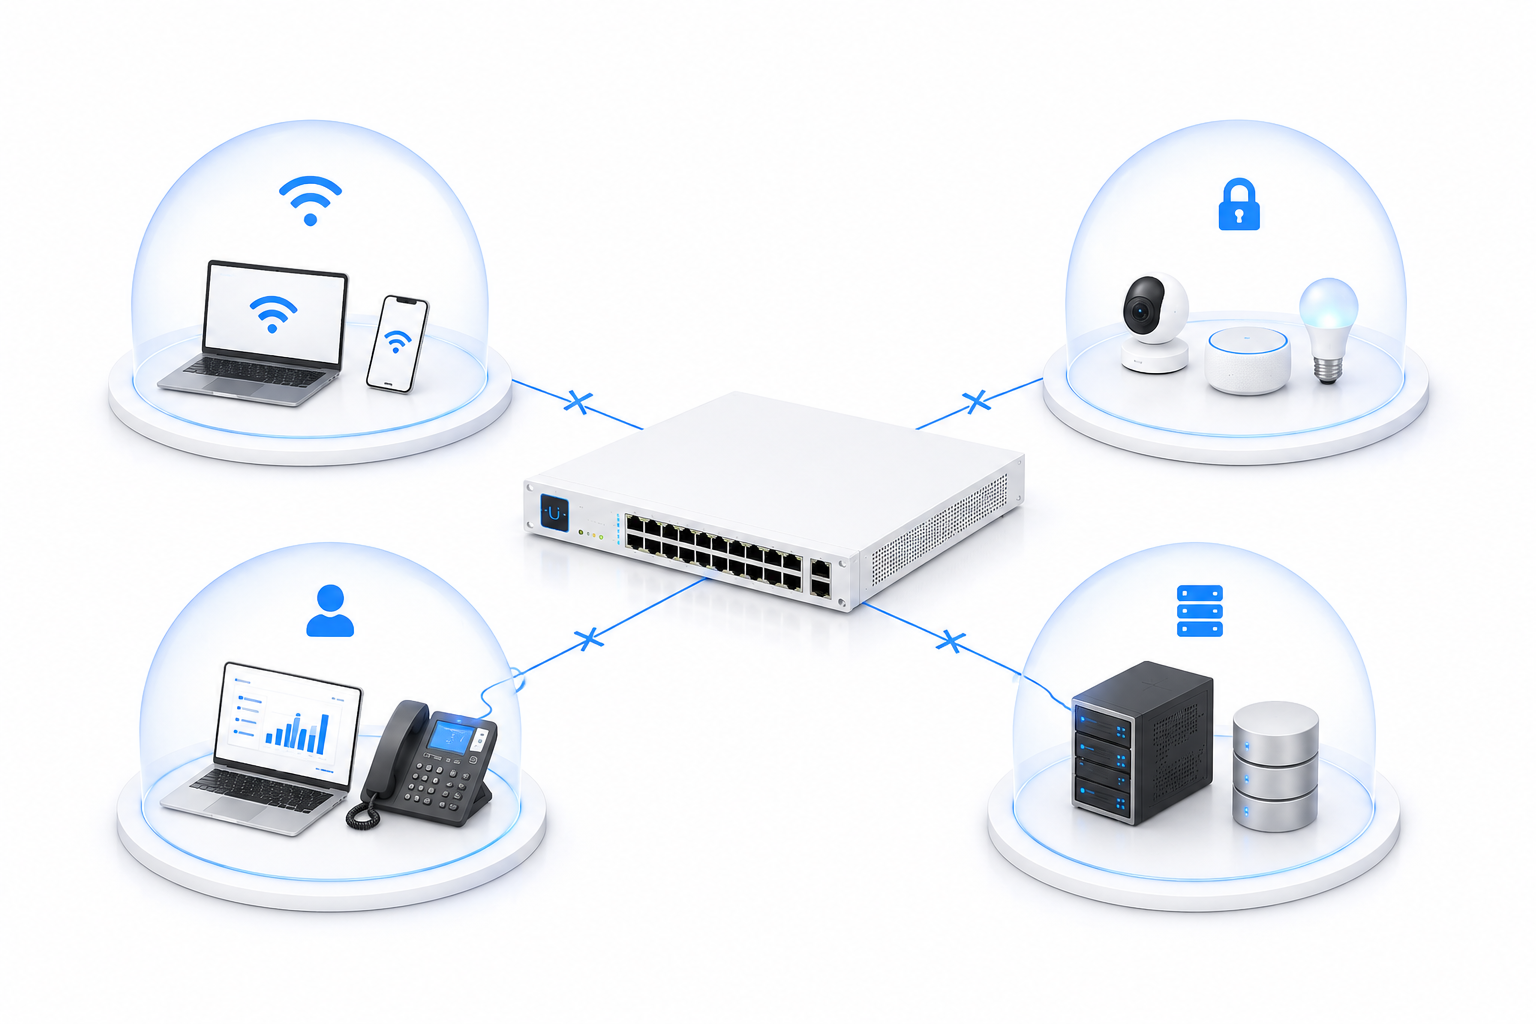
Network topology showing a UniFi switch connecting isolated devices
How port isolation works
Port isolation is configured at the switch level. An isolated port can still reach the network through the switch's uplink, but it cannot communicate directly with other isolated ports on that switch.
The setting applies to the selected UniFi site only. If one controller manages multiple sites, configure port isolation separately for each site's switches.
Enabling port isolation in UniFi
- Open the UniFi Controller and select the site you want to configure.
- Go to Devices and select the switch.
- Open the switch's Ports section.
- Select a port and enable Port Isolation under Profile Overrides.
- Apply the changes and wait for the switch to finish provisioning.
Before you enable it
- Keep the uplink port non-isolated so traffic can reach the router or upstream switch.
- Confirm that isolated devices do not need to communicate with one another locally.
- Combine port isolation with VLANs and firewall rules when you need stronger network segmentation.
Port isolation is a simple way to keep clients on a shared switch separated while still giving them network access. Review the setting per site and test the intended traffic flow after provisioning.